Creating a personalized and professional checkout experience is crucial for maintaining a consistent brand image while providing an intuitive payment process for your customers. Depending on your Paystand configuration, you will use the Billing Portal or the Payment Experience to brand your checkout experience. Here’s how to identify your setup and tailor your payment pages accordingly.
Identifying Your Configuration
To determine whether you’re using the Billing Portal or the Payment Experience:
- Log in to your Paystand Dashboard.
- If the dashboard lists Billing Portal, follow the steps under Branding Your Billing Portal.
- If the dashboard lists Payment Experience, follow the steps under Branding Your Payment Experience.
Branding Your Payment Experience
The Payment Experience is the checkout page your customers use to pay their invoices online. Here are the steps to personalize this experience:
Accessing the Payment Experience
- Log in to your Paystand Dashboard.
- Navigate to Integrations > Payment Experience.
Creating or Editing a Payment Experience
You can customize the Payment Experience to suit your brand’s needs, including:
- Adding your logo, colors, and background
- Enabling or disabling specific payment methods (e.g., Bank-to-Bank, DeFi Card, ACH, and Credit Card)
- Applying a Fees & Incentives Plan.
- Allowing partial payments on invoices.
Fees & Incentives Plans
Fees & Incentives Plans let you manage payment method options, pass on fees, and offer incentives to encourage preferred payment methods.
To create a new Fees & Incentives Plan:
- Click Create New F&I Plan at the upper right of the Payment Experience page.
- Fill in the following details:
- Plan Name: Enter a name for the plan.
- URL Key: Add values to the URL link.
- Payment Method Settings:
- Enable or disable specific payment methods.
- Add percentage or flat discounts for specific payment methods.
- Set as Default: Check this box to apply the plan to all customers and Payment Experience portals without a currently assigned plan.
Branding Your Billing Portal
The Billing Portal is a web-based platform that generates a URL for customers to process payments. Follow these steps to brand your Billing Portal:
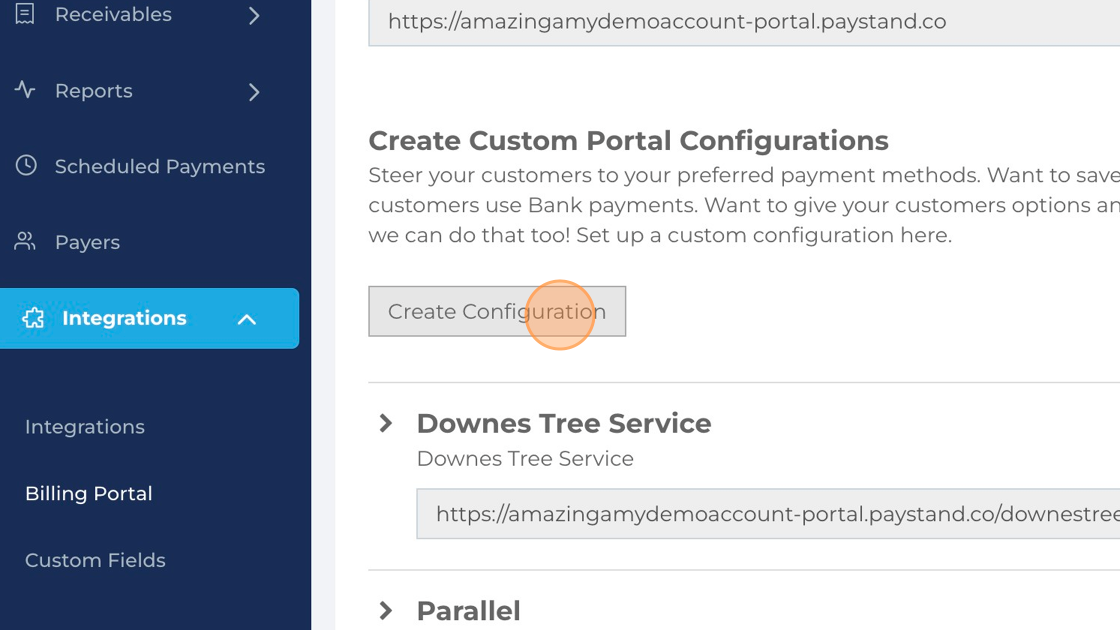
Creating a Billing Portal
1. Click Integrations
2. Click Billing Portal
3. Click Create Configuration
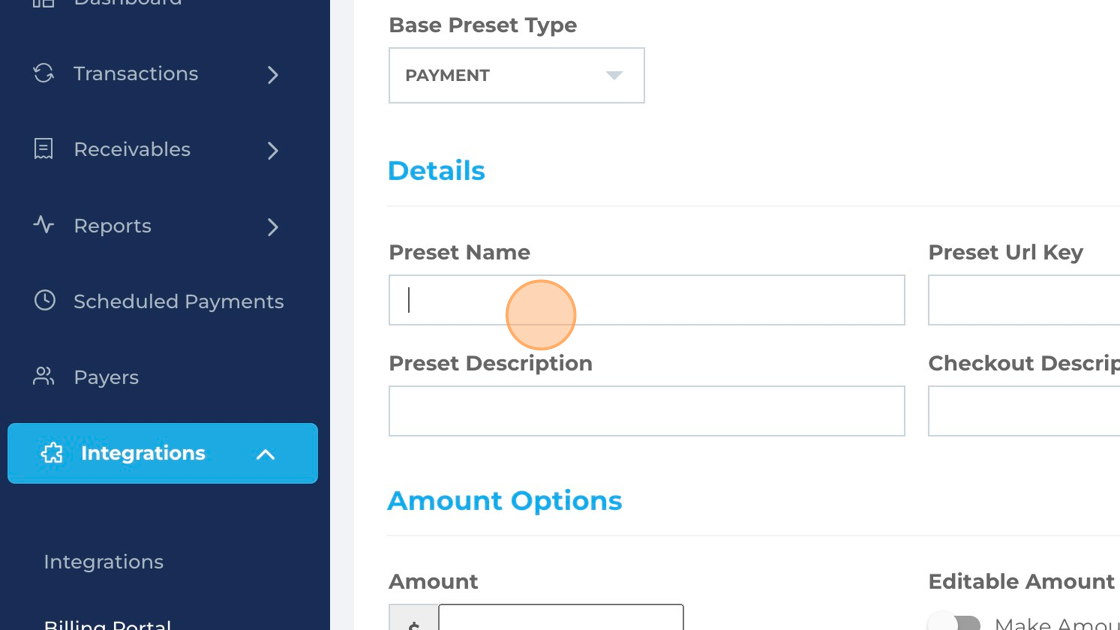
4. Preset Name. Enter the name for the billing portal.
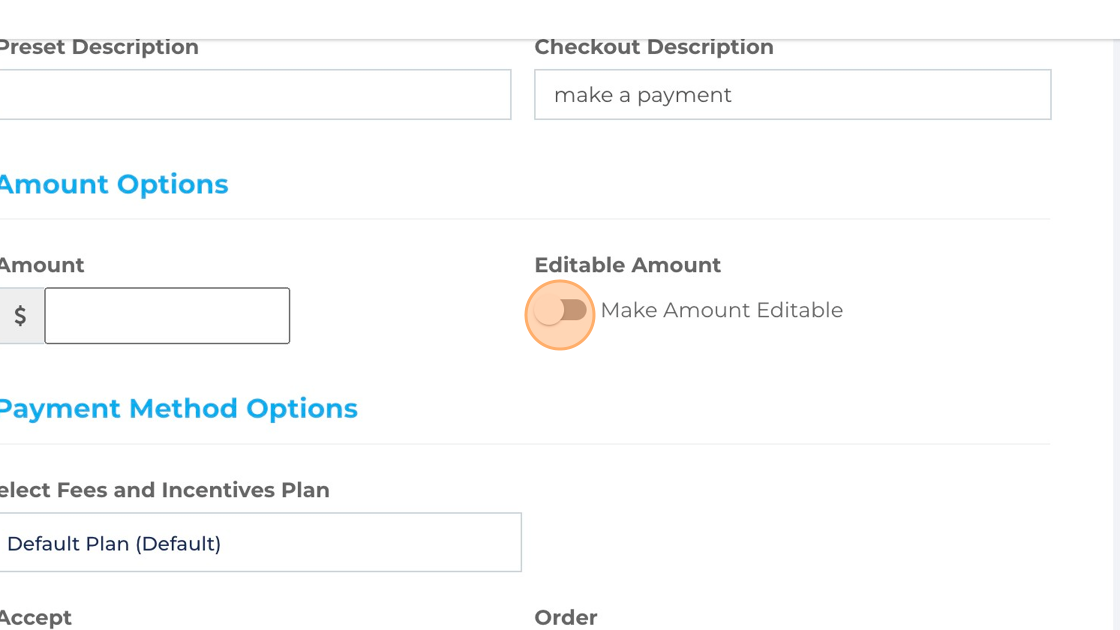
Preset Description. Description of the billing portal.
Preset URL Key. You can add values to the URL link.
Checkout Description. In the checkout experience, you can add a message in the billing portal showing below the payment amount.
5. For the Amount Options: You can set a fixed amount or Make Amount field Editable
6. Select the Payment Method Options you want to have available in the billing portal. The order they show can also be customized.
7. Select the Custom Fields you want to add to the billing portal.
8. Choose your Theme Options
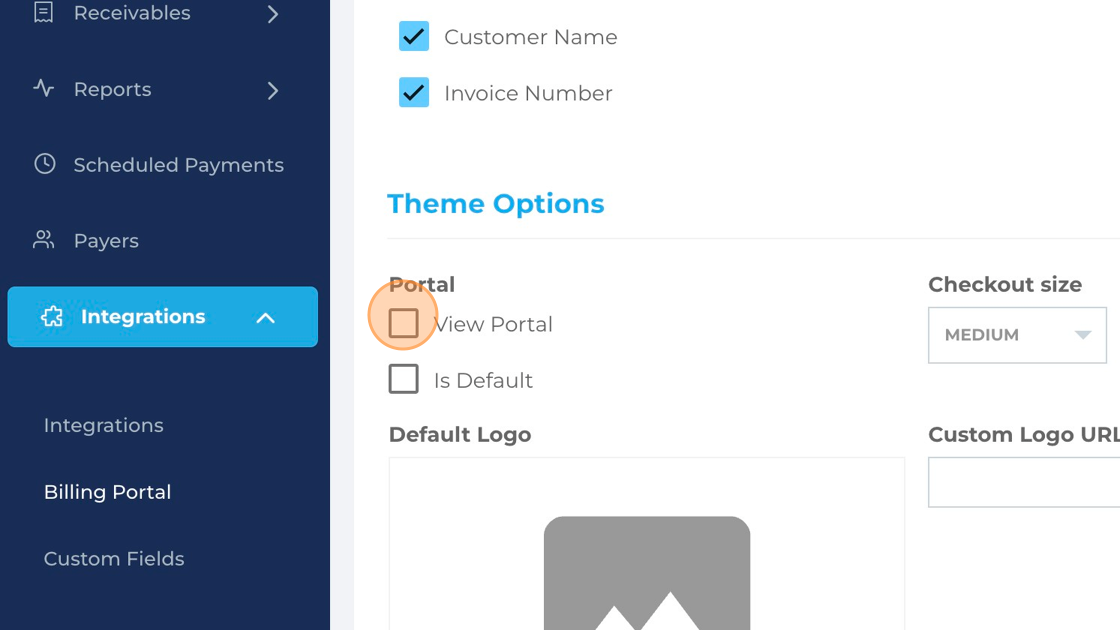
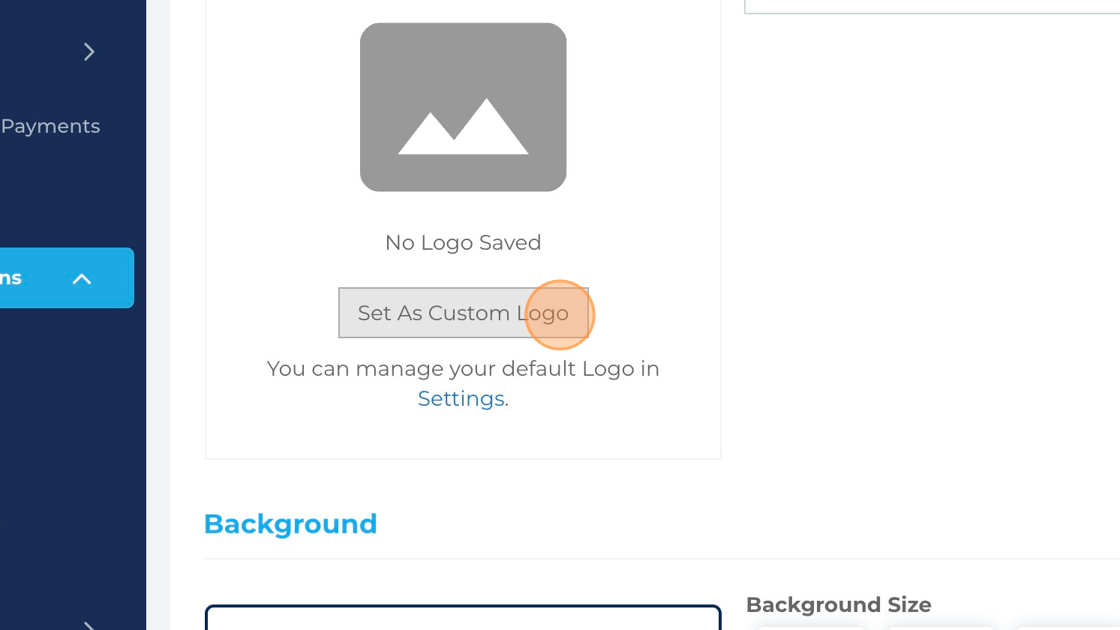
9. You can use the logo uploaded in the Settings tab by clicking Set As Custom Logo.
Logo File Requirements:
File size can not exceed 1MB.
Logo dimensions can not exceed 150px width and 150px height.
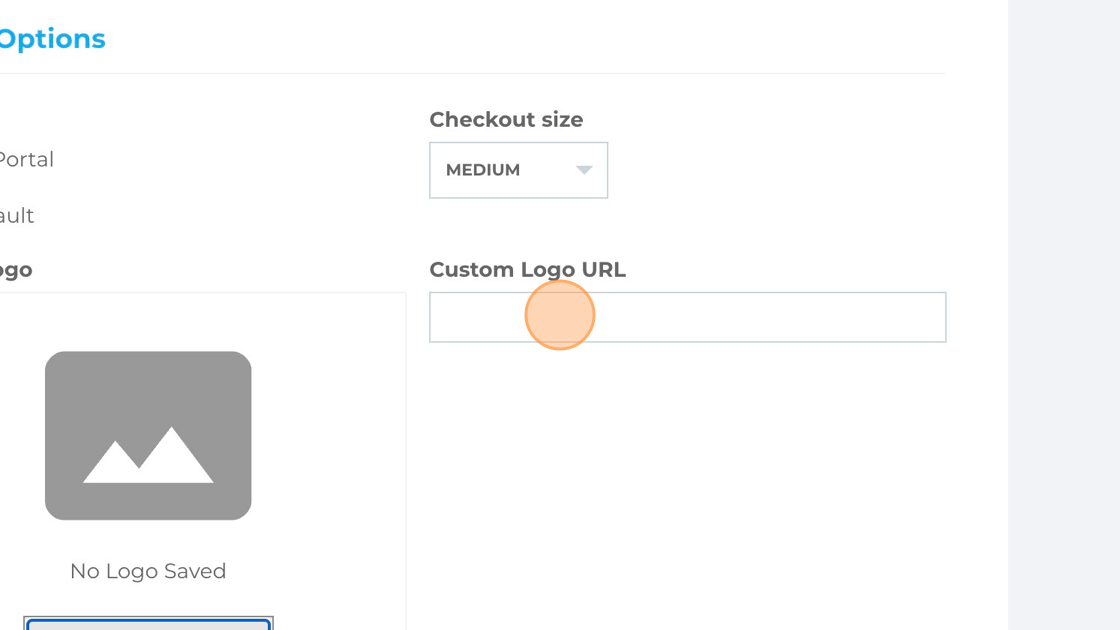
10. You also have the option to set a logo with a URL.
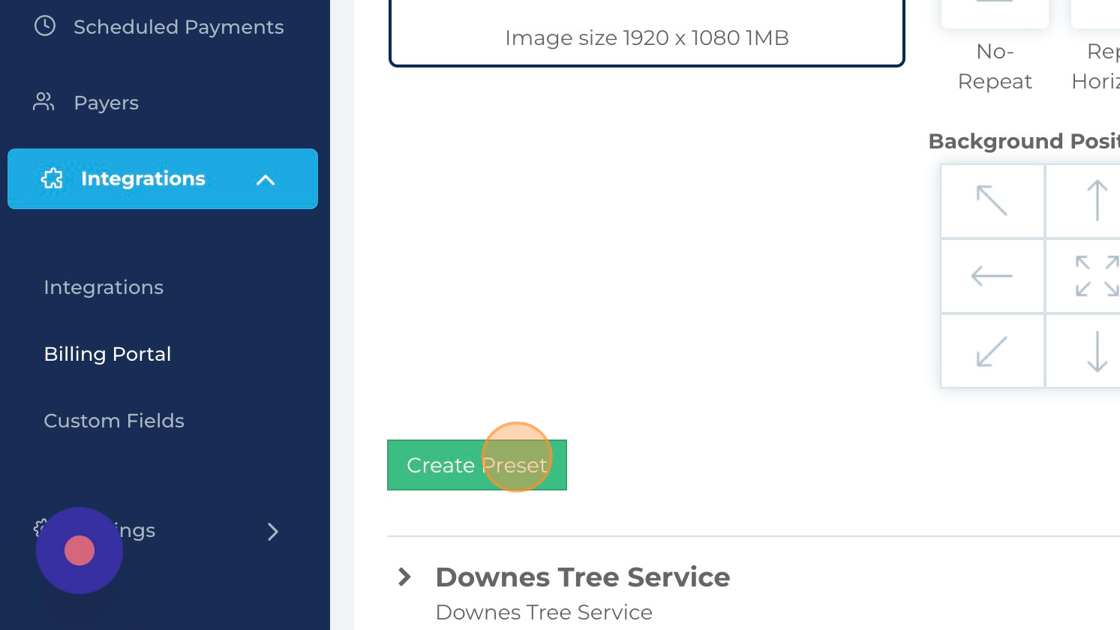
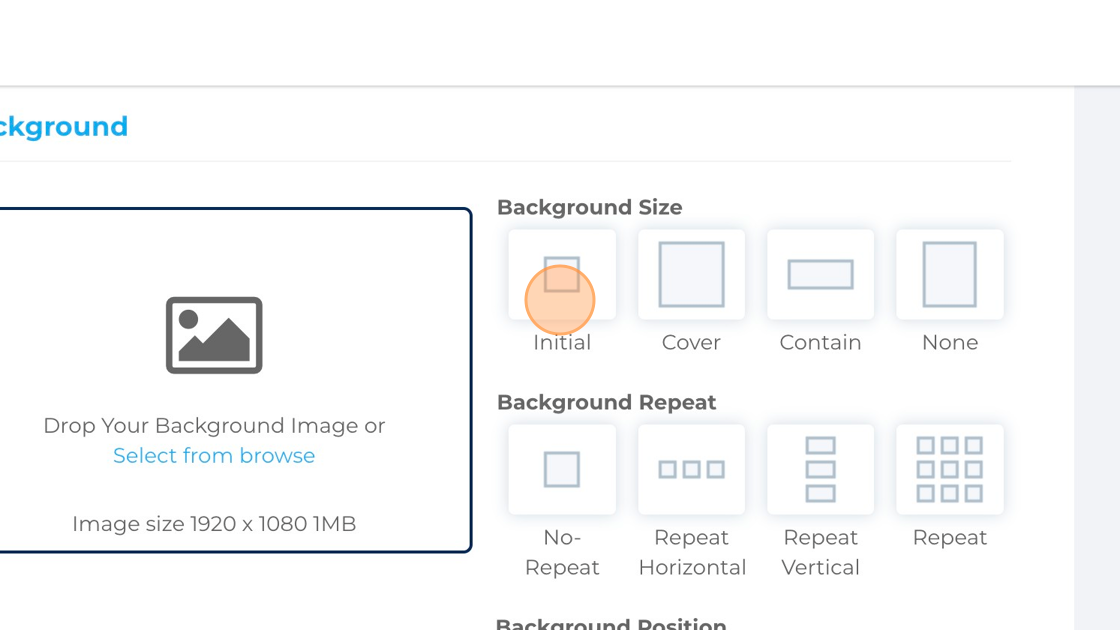
11. Select the Background Options you want to set up in the billing portal.
12. Click Create Preset to create the billing portal. A new URL will be generated.